
I have always wanted to blog and had my own website and I finally did! It feels so good!
I never imagine myself being a web developer. Honestly, web development itself along with all the technical things behind it sounds boring to me. what actually excites me is the designing part of the website. How you do the the graphics, the interactivity, the colors, the layout. You name it. I think a web designer should not only be technically proficient but also be a creative and artistic individual who can think out of the box :)
Apparently I have no clue about web development and the idea of learning CSS, HTML and JS from scratch does not sound very ideal. I have been Googling around and feel overwhelmed by all the languages, platforms and learning resources out there. If you feel the same, no worries. You are not alone. And trust me, you don’t have to be a HTML and CSS expert to start building things. Once you know a little fundamentals, you can learn as you build.
My learning style is more towards video tutorials. When you learn things, you probably don’t learn in one single source, Freecodecamp and Edureka are greats places to pick up fundamentals css, js and html if you are a beginner. You can also find this amazing CSS and HTML free course by Edwin Diaz on Udemy. These are my favorites on earth.
In this article, I will show you how to build and deploy a static website using a combination of Hugo + Github + Netlify. Actually I got to know about static site and using Netlify thanks to a friend who built her own website using Gatsby.
What is a static site generator?
A static site generator is an application that applies data and content written in Markdown language to templates, and generate a view of a page in the form of static html files, ready to be delivered to visitors. The application itself can be written in any languages, for example Ruby (Jekyll), JavaScript and React (Gatsby). I tried Gatsby at the beginning because it seems to have a very thriving community. After one week constantly encountering bugs and debugging, I finally succeeded in installing Gatsby and downloading a Gatsby site’s template. However, I, in the end, decided to go for Hugo, which is a Static Site Generator written in Go, because it is very user friendly and it wasn’t really necessary for me to understand Go. You can find a detailed comparion between Gatsby and Hugo in this aricle.
Alright, that is enough talking. Let’s get started!
Part 1. Building your static site with Hugo
A.Hugo installation
![]()
#1.Install Chocolately
To get Hugo installed on your Windows Operating System, you need to make sure you install Chocolately, which is a package manager for Windows. See the instruction here.
#2. Install Hugo Once Chocolately is installed, you can simply install Hugo with this command in your power shell terminal:
choco install hugo -confirm
For Mac and Linux users, please see the installation guidline here.
Great! Now you should have Hugo installed on your system. Let’s start building your website!
B.Building your website
#1. Generate Hugo site
The next thing you need to do is to generate your site with Hugo CLI. Open up your terminal and type the following command:
hugo new site your_project_name
A folder will be created with the same name (your_project_name) you provided. You should now have a directory at C:\User\Hugo\Sites\your_project_name. The default folder structure will look like this:
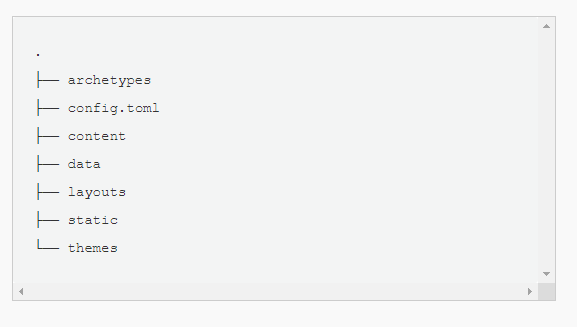
The following is a high-level overview of each of the directories:
Config.toml
This is the main configuration file for a Hugo site. This is where you can specify information about your site like the site title and description. Check out the config docs for more detail.
Content
The content of your website, for example your blog posts, photos will live inside this directory. Each folder in Hugo is considered a content section. For example, if your site has three main sections— blog, fashion, and art —you will have three sub-directories including blogs, fashion and art in the Content directory.
Layouts
You can define really complex layout for your website. There’s is a lot you can do. The layout folder stores templates for each section from the content in the form of .html files that describes how views of your content will be rendered into a static website.
Static
This directory stores all the static content – things that don’t change: like images, css and JavaScript.
Themes
You can just download a prebuilt template and put it in the themes folder and boom! You have your website. You can adapt the theme in the way you want your website to look like.
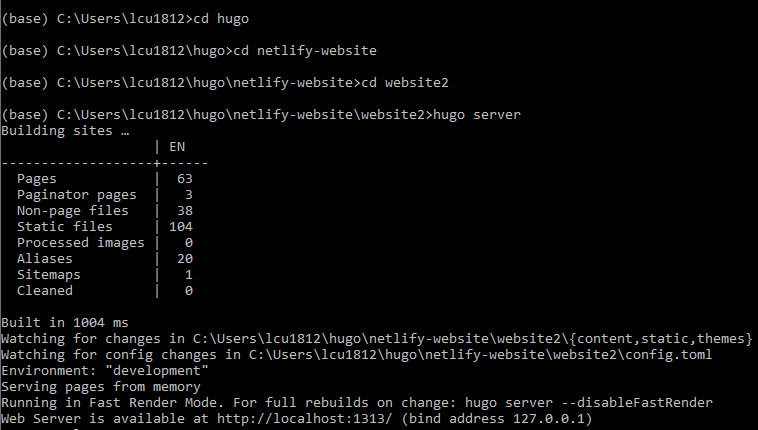
#2. Get the site run locally
In the directory of your website on the terminal, type the following command:
hugo server
What this command does is it starts a local development server that hosts your website on your machine.
Note: If you get an error message: Error: Unable to locate config file or config directory. Make sure you are inside the folder that contains the config.toml file.

Now if you go to your browser: http://localhost:1313/, you should see your website there. You will get a white page though because the server is running but there is no theme/content yet.
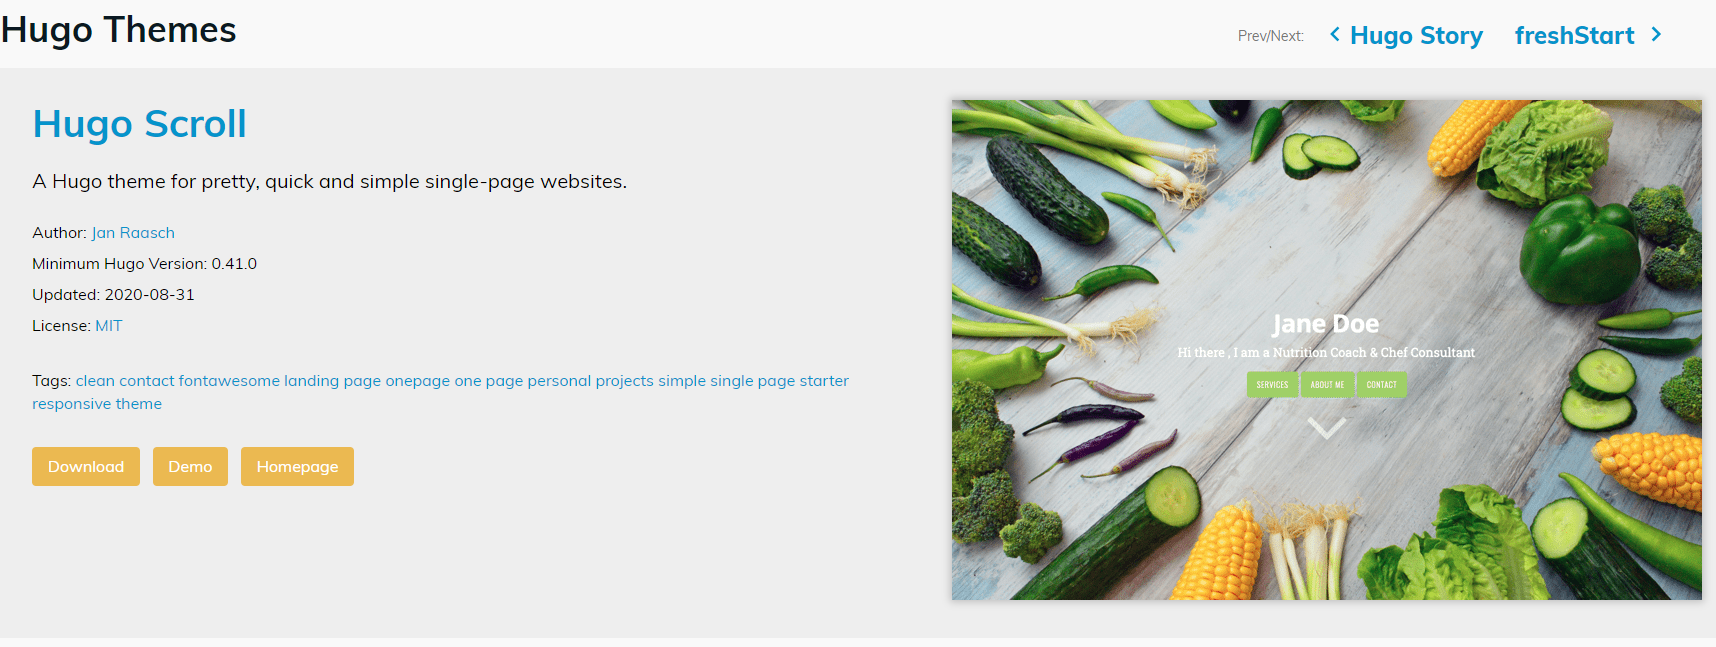
#3. Select a theme
As a beginner, I find it extremely helpful to have a template and work with well-structured and formatted code. You can always adapt the code in the way you want your website to look like. Hugo is very user friendly and it allows you to use pre-built themes. You can go to the hugo’s theme site and there are hundreds of themes you can choose from. They are all open source. Click on the demo and you can see how the website looks like and select the one of your choice.
Let’s say, you want to install hugo-scroll theme, from your terminal within your Hugo project directory, type the following command:
git clone https://github.com/janraasch/hugo-scroll.git .\themes\hugo-scroll
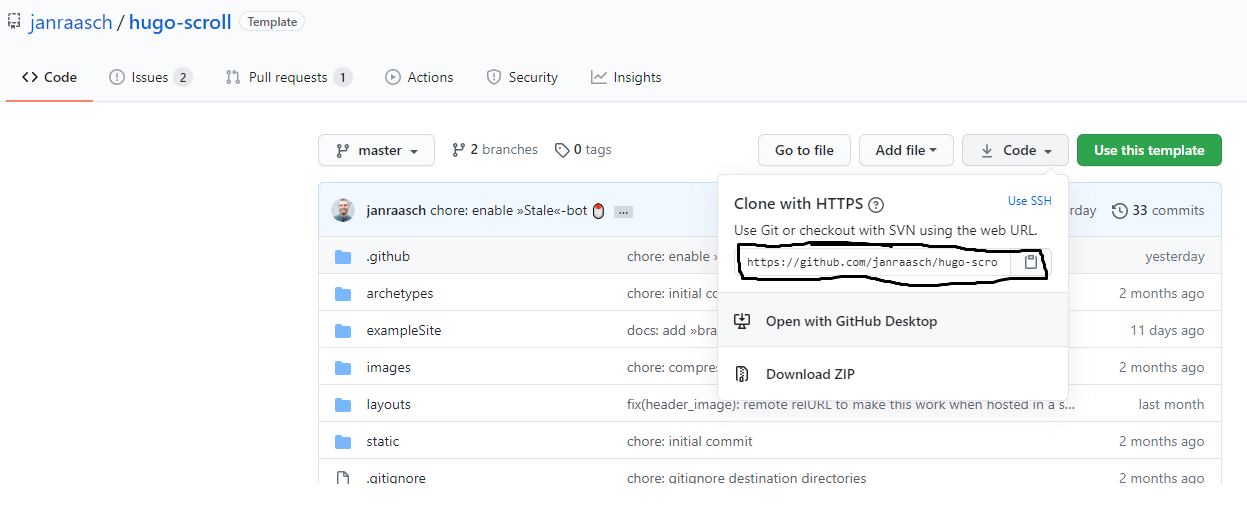
(Note: if the development server is still running, you need to hit Ctrl-C to kill it so that you can come back to the Hugo directory) You should see a directory with the name “hugo-scroll” inside the themes directory of your website folder.
#4.Configuration
Next we need to tell Hugo that we want to use the newly installed theme. Add the following line to your config.toml:
theme = “hugo-scroll”

If you now view your website hosted on localhost you will see that the theme is applied directly. This is because Hugo tracks all the files needed to build your website and will rebuild the website and force a reload of the page in your web browser whenever you edit a file.
NI am sure you will want to change things in the website’s template, for example, the name of your website ! Let’s go to the config.toml file again in your text editor platform, in my case I use Sublime. You can also use another platform like VisualStudio. You can add the title of your site. By the way, make sure you read the license file. What it basically says is that the person who created the theme is not going to be liable for anything you change in the theme if you get trouble with that.
Part 2. Host your website with Github and netlify
#1. Find a place to host your code
You need a github account for this. If you have not had it yet, please create one here. The next thing to do is to create a repository on github. Go to repository and click “New”:

Next, upload your website folder there by going to the directory of your website and typing the following commands in the command prompt terminal:
git init
git add .
git commit –m “first commit”
git remote add origin <url_of_your_repository>
git push –u origin master
By now, you should see all the subfolders in your website folder on your git repository.
#2. Deploy your website with Netlify
Netlify is a web-developer platform that offers hosting and serverless backend services for web applications and static websites. The way it works is that Netlify connects to your github accounts, goes through your git repository and copies all those codes over to Netlify and processes and publish the site. Follow these steps below:
Step 1. Create a Netlify account
Step 2. Connect your Netlify account with your Github account.
Step 3. Deploy your site on Netlify.
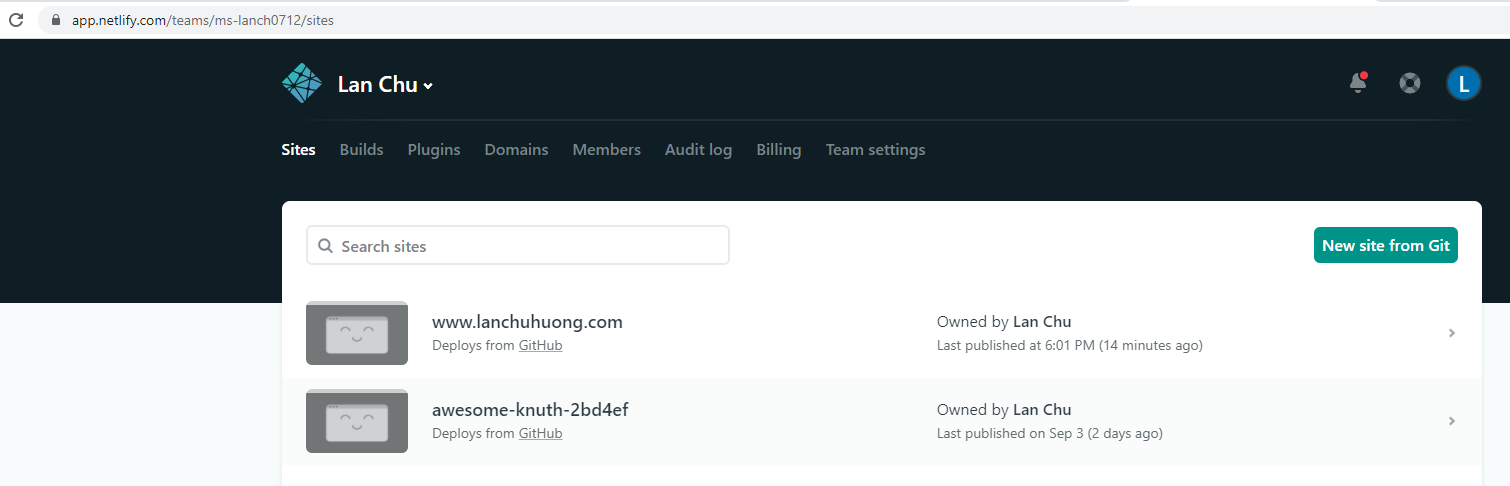
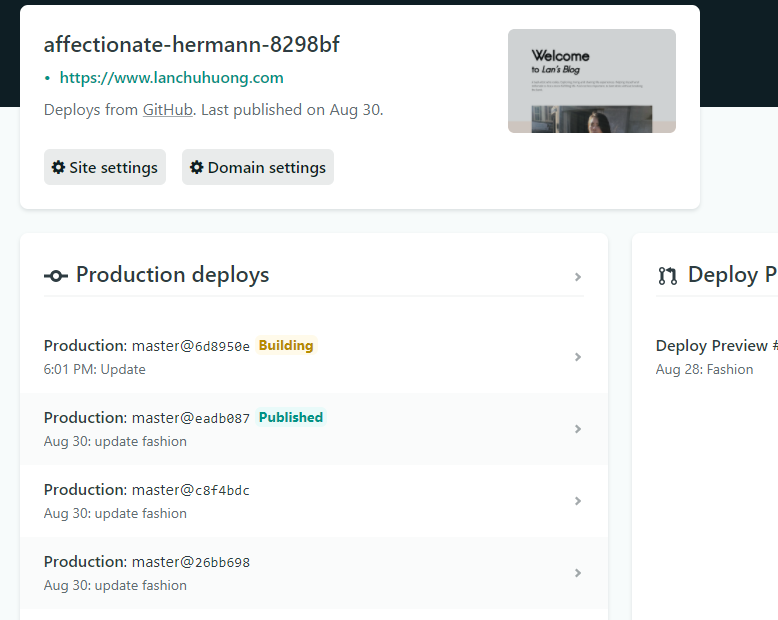
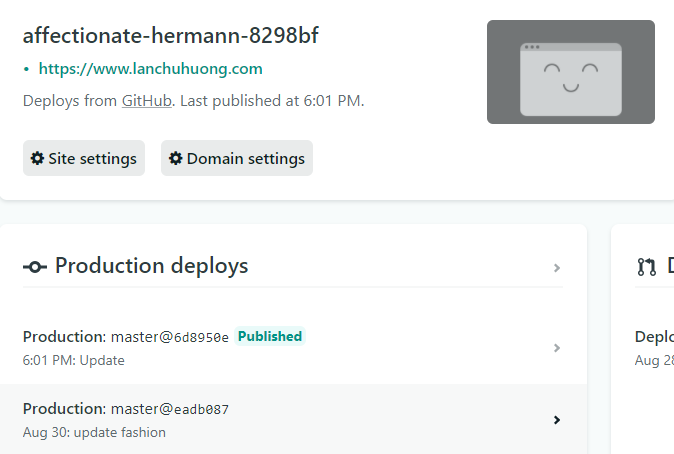
You can find a detail instruction on Netlify’s website. After this process, Netlify will create a funny defaulted url – random_name.netlify.app for you. In my case, the name is: Affectionate-hermann-8298bf. Click on the link to see that your website is now live! Congratuulations!
#3.Create Custom Domain
Of course you would want to have your own domain name rather than a fun random name from Netlify! Find in this post a step by step guide to create a custom domain for your website.
Update you website
To update your site, first you need to make changes to your website locally. You can also see how the website looks like before pushing it to Git Repo at http://localhost:1313/ by running:
hugo server
I was amazed to see the changes get updated on your local machine in less than a second! How cool huh? To push your changes to your website, you first need to add changes, commit and push them to your Git repository writing the following commands in your prompt terminal:
git add .
git commit -m "Updates website"
git push origin master
Netlify will detect the changes you push to your git repo immediately and go back to the Netlify site to deploy the new changes which will happen in just a matter of few seconds! See in the snapshot below, Netlify builds, processes and publishes in the same minute.
A Hugo template doesn’t build a perfect website. You can set up a site based on the template first, and build upon it as you learn more HTML, CSS, and GO skills.Take baby steps. Practice makes perfect. I hope that this helps with learning and give you some motivation to build your own website. I would be happy to look at your website once you are done building it. Let me know in the comments.